Setting up a community clothes swap bag
Inspired by friends in the Netherlands, a Fix Club friend and I have recently sent an Ikea bag full of our kids’ pre-loved clothes into circulation around Windmill Hill.
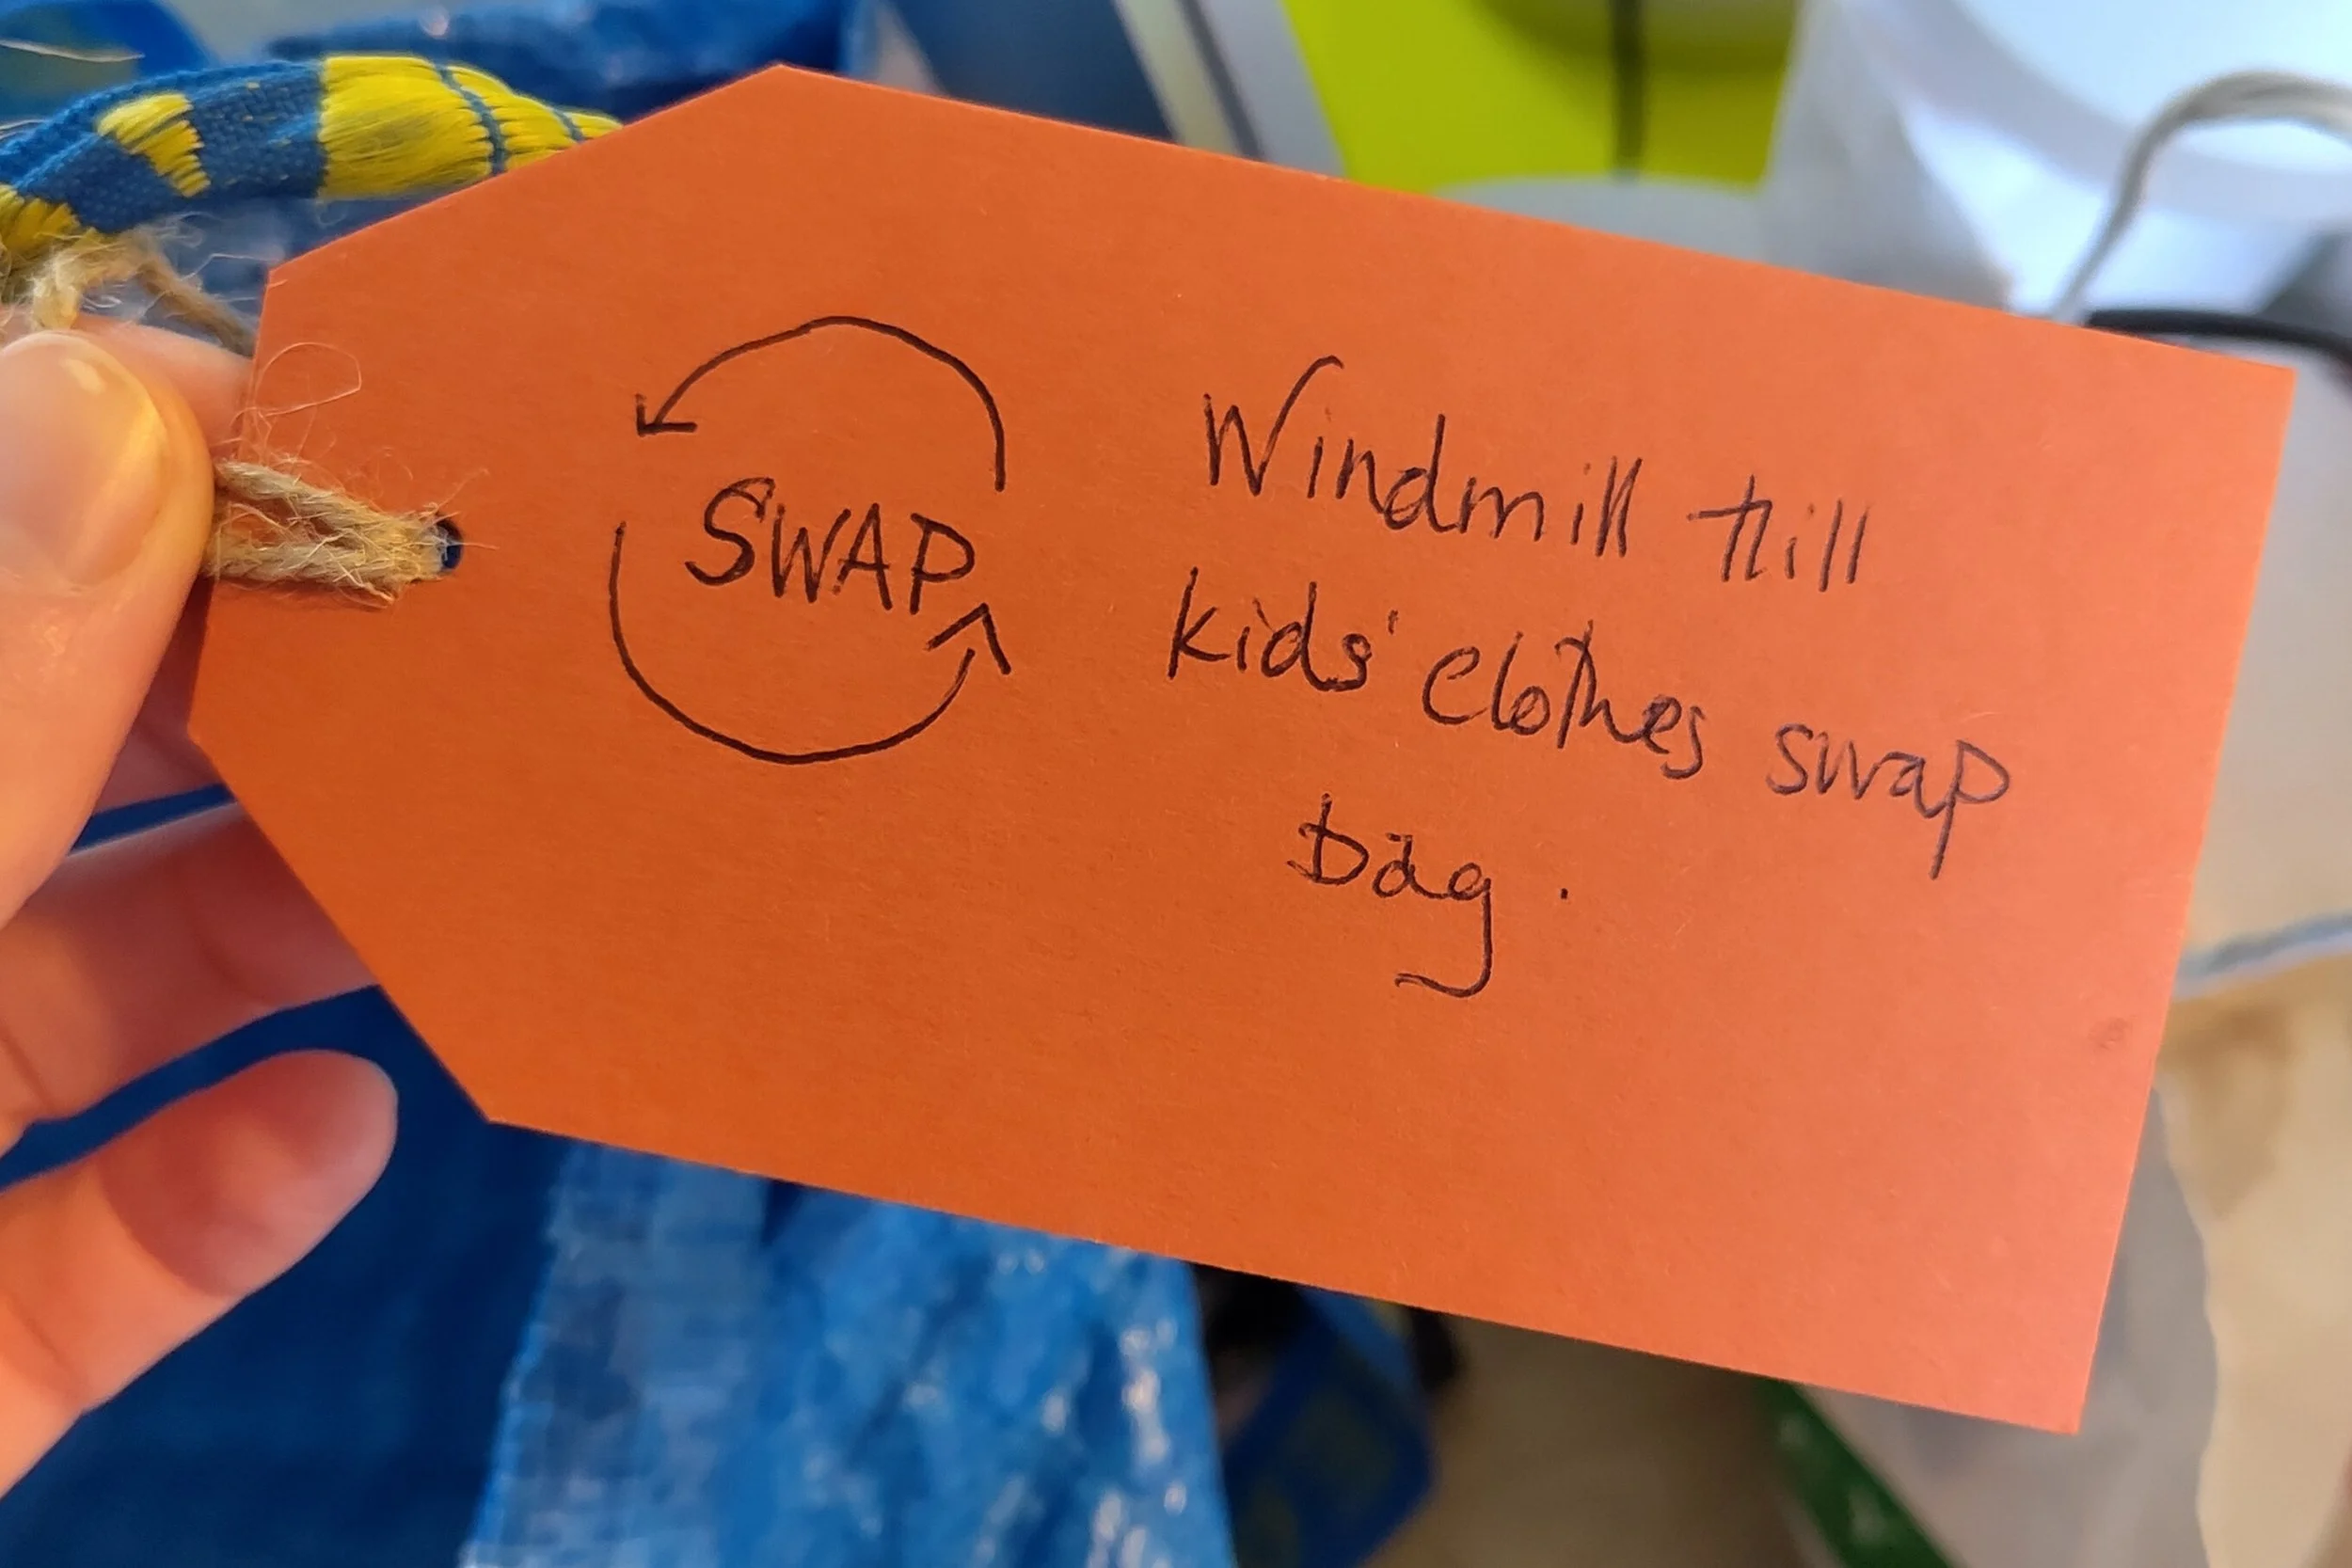
The idea is simple: Take what you need, put in what you don’t, then pass it on.
The benefits
Keeps clothes out of landfill, and avoids having them sent half way across the world via a charity shop
Allows you to try on clothes in the comfort of your own home and see how things go with your existing wardrobe
Gives you an excellent old-new-things dopamine hit
Provides kids (and adults) with an exciting way to choose some new clothes while learning the value of secondhand.
Exactly how it works in practice is still to be seen. Will people find anything they want? Will it get too full because people prefer to give than take, or the opposite?
We’re going to ask the group for feedback soon, so we can iron out any issues.
In the meantime, I want to share how we set it up, in case you’d like to start your own local clothes swap bag!
How to set up a community clothes swap bag
1. Decide on a category of clothing
Children’s, teens or adults? You could choose to swap maternity, fancy dress or plus-size clothing, for example. Or make it a free-for-all and see what happens.
2. Find your people
Share the idea with a small group of relevant people to begin with to find out who’s interested. A bunch of friends, a school or nursery class, or local community or buy-nothing-new Facebook group, for example.
3. Create a swap-bag specific WhatsApp group (or similar)
Use your location in the group’s name and write a simple description stating who the group is for and how it works - any conditions for taking part, and what kind of clothes you’d like people to swap.
(In our group we’ve not set any strict guidelines to begin with. We’ve asked people to contribute reasonable quality children's clothes – up to 10 years – anything someone would be happy to pass on to a friend or receive themselves. They can be well-loved things with some wear and tear, including patching or other mends. We’ve stated that items shouldn’t be overly damaged or unwearable.)
Then share the group link with everyone who’s shown an interest.
Ask everyone to add their road name and phone number in the group description. Members can then contact the next person in the list to find out their exact address and agree a time to drop the bag round.
4. Make it convenient
Convenience will be key to the success of the swap bag. If you have to walk 15 minutes to drop the bag with the next household on the list, it might not happen. I reordered the list of addresses to make it as easy as possible to keep the bag moving around the group members. We also split the group into two geographically, to help with this as we had over 30 families interested. It would have taken ages to get round everyone - so consider capping it at around 15 households and see how long it takes to get back to you!
If you find people are joining from too far afield, you can send them a link to this blog to help them get started with their own swap bag.
5. Let the swapping begin
Find a big bag – doesn’t have to be an Ikea one of course, but they are a good size. Put a pile of pre-loved clothing in. Make sure everything’s clean and of reasonable quality (good enough that you would happily receive it), and fix up any holes.
Contact the next person in the list for their exact address and a good time to drop the bag with them. Then pass it on!
6. Check in
Let the bag do one round then check in with everyone on the group to see how it’s been going. Ask if they have any suggestions for improvements and share any updates with the group.
You may want to add in some guidelines around sizing, quality or turn around time, for example.
What do you think?
Drop me a line if you have any questions, suggestions, or to let me know how it goes if you try it with your neighbours!